TAKING LAYOUT PHOTOS TUTORIAL
TIP #1 ... POSITION
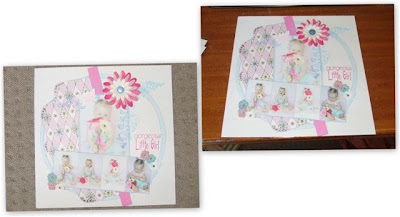
The best place to take a photo of a LO is from above. Stand on a chair or lay it on the ground and stand above it. Try to get your page as close as possible to fill as much of the frame as you can so there is little background mess as possible.
.jpg)
The photo on the left, I laid on the ground and stood above it, the photo on the right I put on the table and stood next to it.
TIP #2 ... LIGHTING
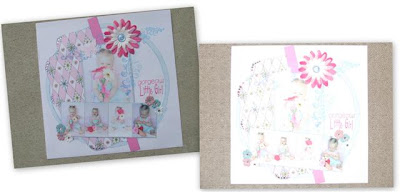
First thing is finding the perfect lighting. I prefer to take my photos outside in the sun. This is the BEST place to do it in my opinion. Make sure you stand where you are leaving no shadow on your LO. There are times when you won't beable to go out in the sun! So the best lit room in your house with all the lights on, even if it is in the daytime! Again try and position yourself so there is no, or little shadow on the LO, it is a bit trickier inside than outside.
.jpg)
The photo on the right I took inside. The flash on my camera went off and has made the pic too bright. The photo on the left I took outside, the embellishments on the photo are clear and easier to see.
TIP #3 ... CAMERA
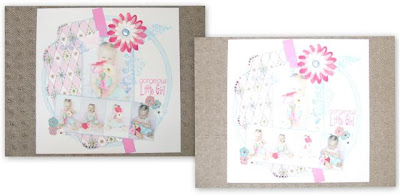
Get to know your camera. Play with the settings. Its amazing what a difference different settings makes when you take a photo in the excact same position
.jpg)
The pic on the right was on auto setting .. the pic on the left I changed the setting ... BIG difference!
TIP #4 ... EDITING
I always edit my pics. I have the programme Picassa, it's free to download and it does everything I need it to. Photoshop and any other photo programme is awesome too!
...CROPPING... The first thing I do with my photos is crop them. Cut off the bits that you don't need!
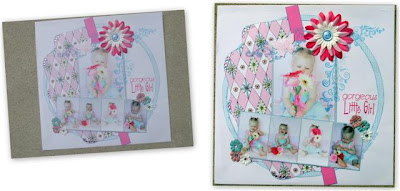
...ADJUST COLOUR... I like to adjust the lighting and usually use the auto adjust feature in Picassa. There is also a fill light which I sometimes use if the photo is a bit dark.
.jpg)
It is kinda obvious which is edited and which isn't! All I did in Picassa was crop the photo then clicked on the 'I'm Feeling Lucky' button and then used the 'Auto Colour' and Hey Presto!! A completely different look!
TIP #5 ... TRADE ME
Uploading to TM we all know how to do, but to make your pic look a little better take off your TM name when you upload. I always forget to do this! But it does look ugly at the bottom of the pic!!
I hope you found this tutorial helpful :)
PLease if you have any other techniques, ideas that you'd like one of us to do a tutorial on just let us know :)
I look forward to seeing your LO Photos!
HAPPY SCRAPPING!!


Thankyou for the fun & practical tutorial Tracy
ReplyDeletefrom TracyM #6773